Hi, I’m Shumi, a creative enthusiast who loves making unique and artistic crafts!
Eraser stamps are a fun and creative way to make your own unique stamps using simple materials and tools. In this guide, we’ll take you through the process of making eraser stamps step-by-step, perfect for beginners. With eraser stamps, you can add a personal touch to cards, journals, gift wrapping, and more. Gather your supplies and get ready to create your own special stamps!
Contents
- What are Eraser Stamps?
- Materials Needed
- Design Phase
- Carving Phase
- Finishing the Stamp
- Using Your Stamp
- Applications and Projects
- Storage and Maintenance
- Frequently Asked Questions (FAQ)
- Conclusion
shumispace
1. What are Eraser Stamps?
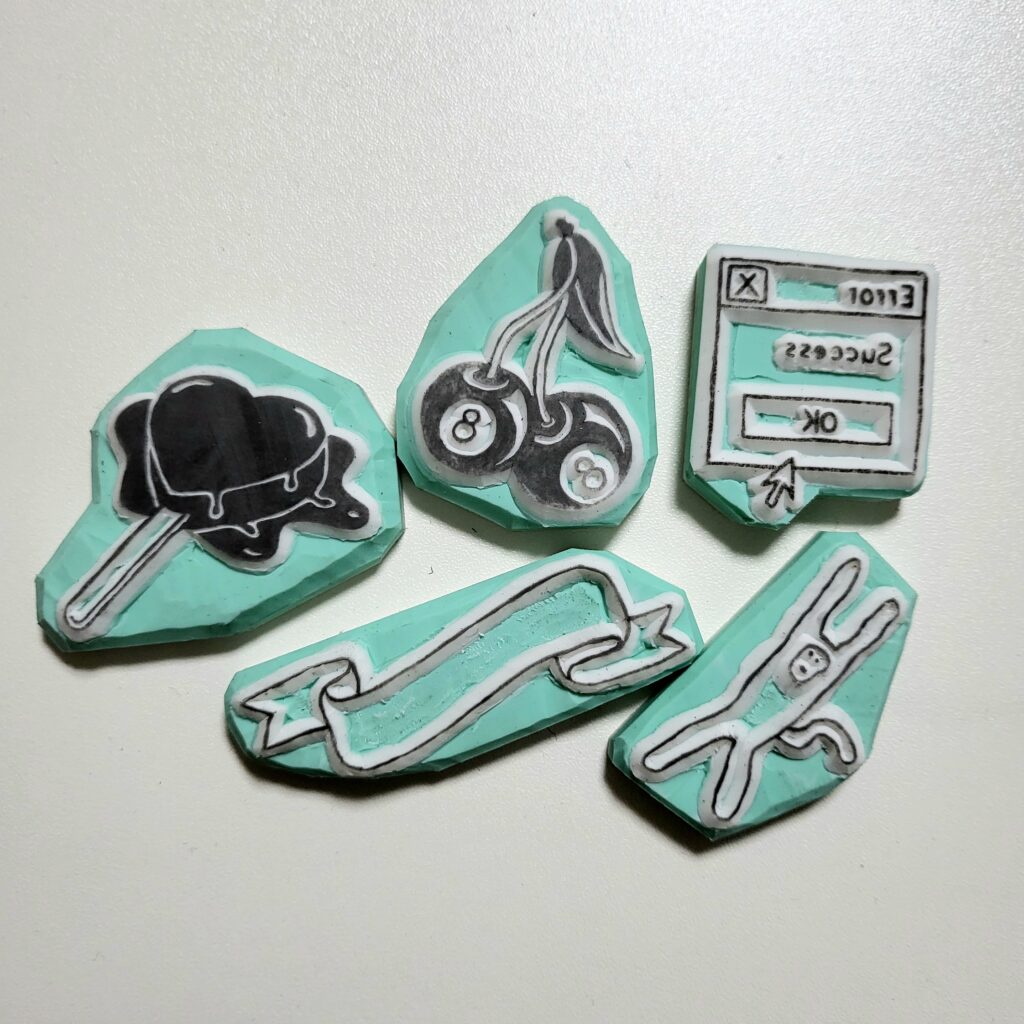
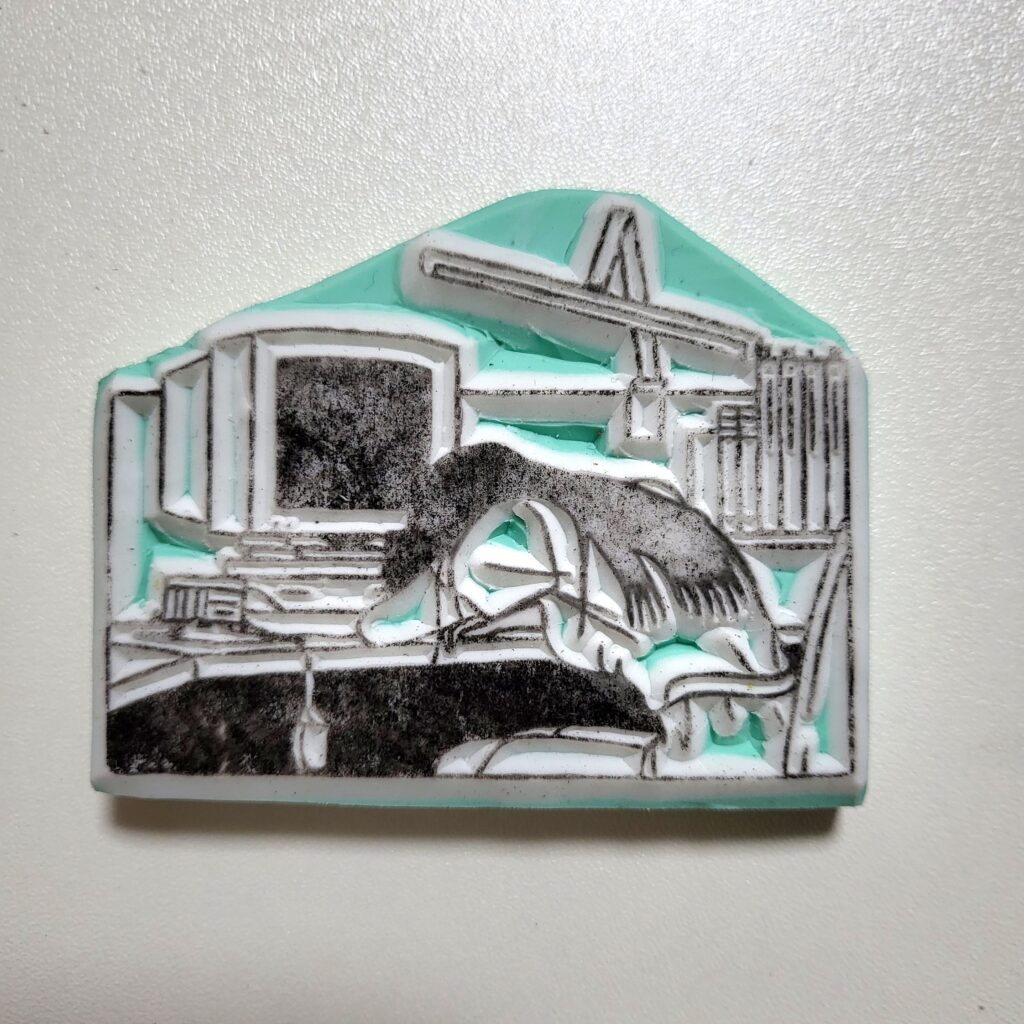
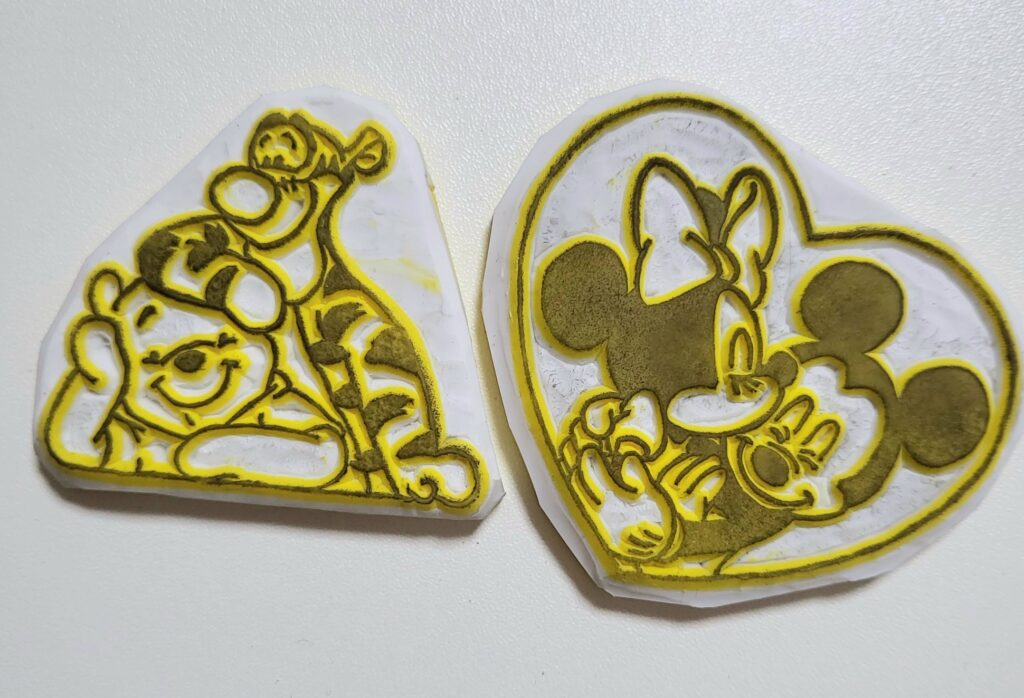
Eraser stamps are a delightful and versatile form of crafting that involves carving designs into ordinary erasers to create custom stamps. This unique art form combines creativity with practicality, allowing crafters to produce personalized stamps for a variety of uses.
Eraser stamps have a broad appeal due to their simplicity and the satisfaction of creating something by hand. They can be used in numerous ways, such as decorating greeting cards, personalizing stationery, embellishing gift wrap, or even adding a unique touch to fabric items. Their versatility makes them a great addition to any crafter’s toolkit.
2. Materials Needed
To get started with eraser stamping, you will need a few basic materials:
(1) Erasers
The primary material for making the stamps. Choose soft, pliable erasers that are easy to carve.
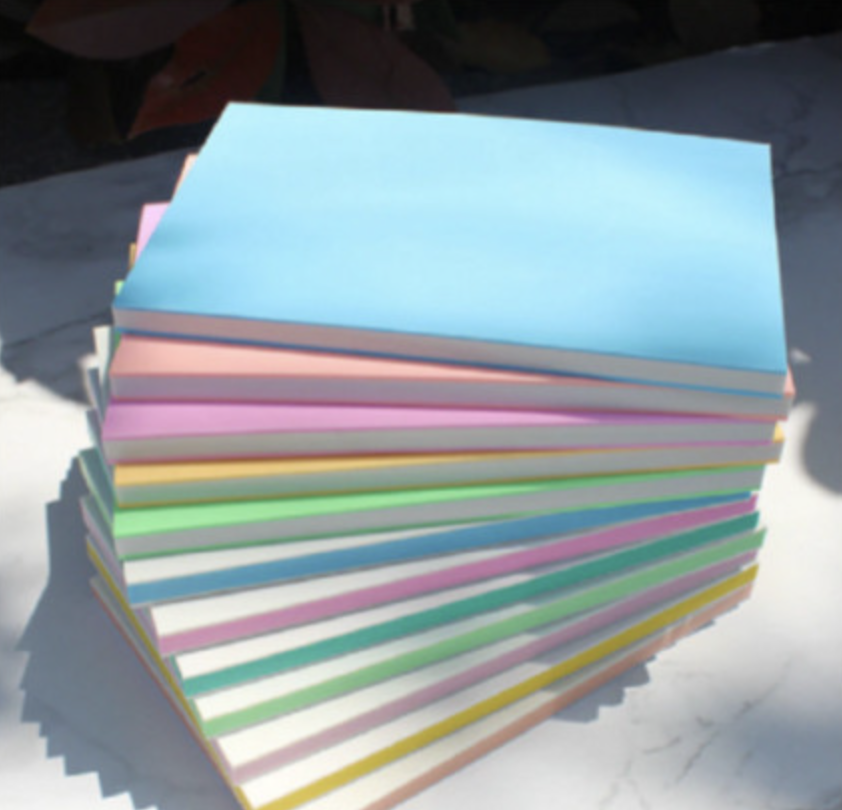
When carving eraser stamps, the erasers used are usually different from regular office erasers. However, if you don’t have stamp-specific erasers, you can still use regular office erasers. Don’t limit your creativity to the tools you have! But as you become more immersed in eraser stamp carving, you’ll eventually find yourself looking for stamp-specific erasers. Here are some brands and products that can be easily purchased from online shopping malls.
✦ Hanko Horu Navi Eraser
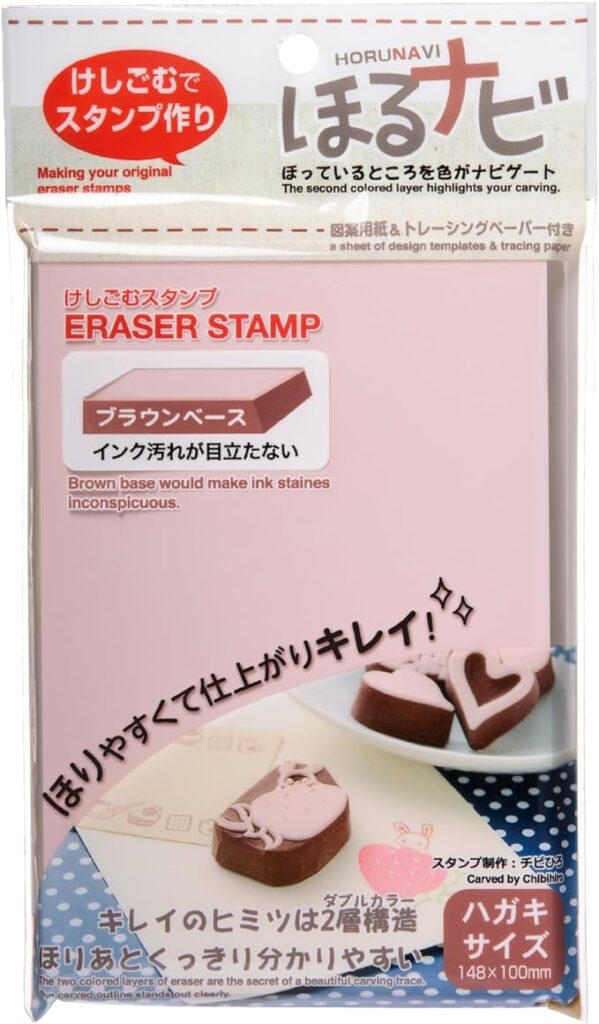
Horu Navi Erasers are specialized craft erasers used for making stamp erasers. They are a popular brand in Japan and are widely favored by stamp makers who require detailed work.
They are made from a soft and elastic material, which allows them to be smoothly carved while maintaining their shape. They come in a variety of colors and sizes, making it easy to choose the right one for your design and purpose. While the colors indicate slight variations in hardness and elasticity, the overall quality of the material remains consistent across different colors. The choice of color often comes down to personal preference and the specific requirements of the project. Some artists prefer softer erasers for detailed work, while others might choose harder ones for larger stamps.
When the surface color of a differs from the color of the underlying layer, it becomes easier to gauge the depth of your carving. This feature is particularly useful for ensuring precision, as you can visually monitor how deeply you are cutting into the eraser. The contrast between the surface and the inner layers helps in maintaining consistent depth and achieving detailed designs.
The price of Horu Navi erasers varies depending on the size and color, typically ranging from $5 to $15 per piece. Purchasing a set can sometimes be more cost-effective.
✦ Junesix Eraser
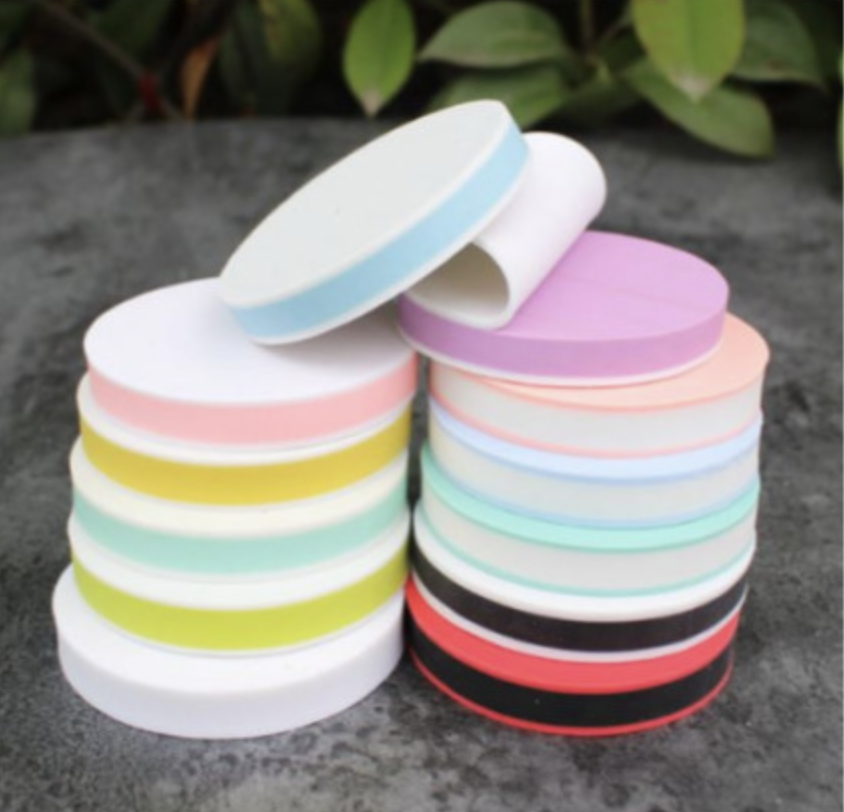
Junesix Erasers are a popular brand of craft erasers from China, known for their high quality and suitability for stamp carving. They have gained recognition among hobbyists and professionals alike for their reliability and ease of use.
They come in various sizes and colors, allowing for flexibility in different projects. The material is designed to be durable yet easy to carve, making it a great choice for both beginners and experienced stamp makers.
Regarding Junesix erasers, it’s important to note that there isn’t a significant difference in performance based on color. They are generally affordable, making them an accessible choice for various users. However, depending on the color or specific product line, some Junesix erasers may feature a peelable layer, while others may not. This peelable feature can be particularly useful for maintaining cleanliness and precision during the carving process, as it allows users to easily remove debris and small pieces.
Also, Junesix erasers have a kind of ‘chewy’ texture, which may not be ideal for very detailed work. Therefore, you might find them less suitable for intricate carving projects.
You are not limited to using these erasers exclusively, as there are many other options available that might better suit your needs for precision and detail.
(2) Carving Knives
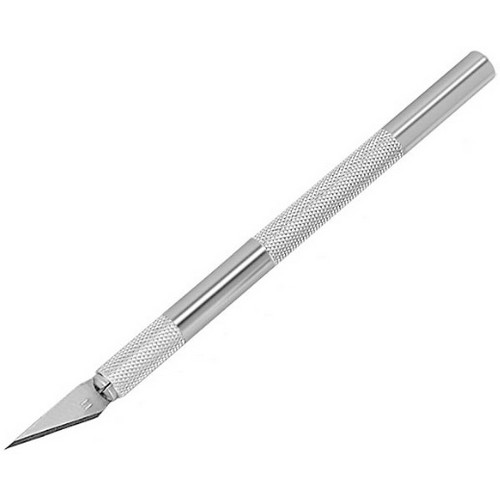
A carving knife is a specialized tool with a sharp blade, used for cutting into the eraser or carving block. Knives come in various shapes and sizes, each suited for different aspects of carving, such as removing large areas or adding fine details.
Always carve away from your body to avoid injuries. Maintain the sharpness of the blade for clean cuts.
(3) Ink Pads
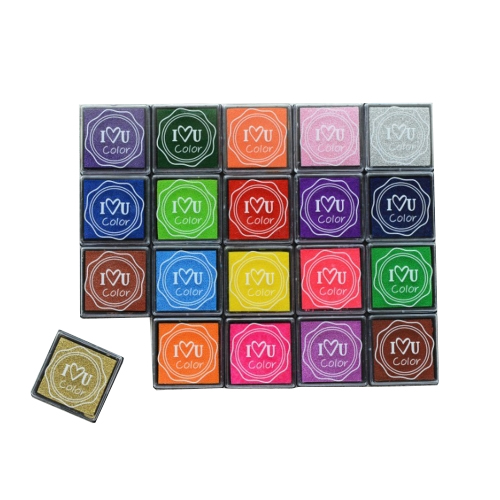
Ink pads are used to apply ink to the carved stamp. Available in a wide range of colors and types, including water-based and oil-based inks.
Test your stamp on scrap paper first to see how it prints. Make sure to evenly coat the stamp with ink to avoid missing areas or smudging.
(3) Other Items
Pencil: Used for sketching your designs onto the eraser or tracing paper before carving. Soft pencils (B or 2B) are recommended for clear, easily erasable lines.
Tracing Paper: Allows you to transfer designs onto the eraser. You can draw on the tracing paper and then rub the design onto the eraser surface.
(Laser) Printer: Useful for printing designs if you prefer to work with digital images. You can print your design and use tracing paper or a direct transfer method to get the design onto the eraser. I will give more detailed information on these methods later.
Acetone: Acetone can be used to transfer printed designs onto the eraser. This method is particularly effective for detailed designs and can save time compared to manual tracing.
Depending on your project, you might also need items like a craft mat to protect your work surface, a bone folder for transferring designs, and an eraser for correcting pencil marks on your carving block.
Having the right tools and materials at your disposal will not only make the stamp carving process more enjoyable but also increase the quality of your final product. Remember, practice and experimentation are key to mastering this craft.
3. Design Phase
Conceptualizing and Sketching Your Design
- Conceptualizing: Start by thinking about the theme or subject of your stamp. It could be anything from simple shapes and patterns to more complex images like animals or plants. Consider the size of your eraser and the level of detail you want to achieve.
- Sketching: Use a pencil to sketch your design on paper. This initial sketch doesn’t have to be perfect; it’s just to get your ideas down. Once you’re satisfied with the basic outline, refine the details. If you’re using tracing paper, draw your design directly onto it.
Simple Design Ideas for Beginners
For those new to stamp carving, it’s best to start with simple designs. Here are a few ideas:
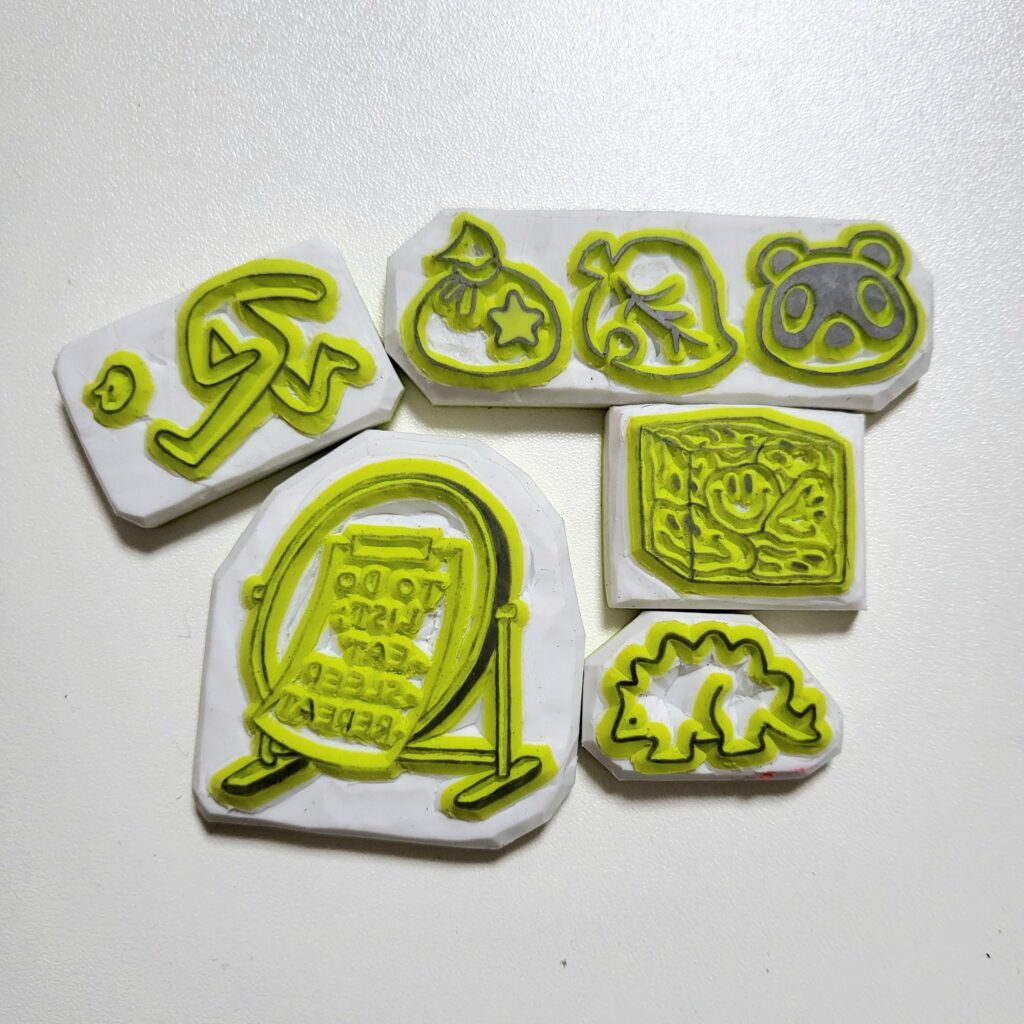
- Basic Shapes: Circles, squares, triangles, and hearts are great starting points.
- Patterns: Dots, stripes, waves, and zigzags can create interesting textures.
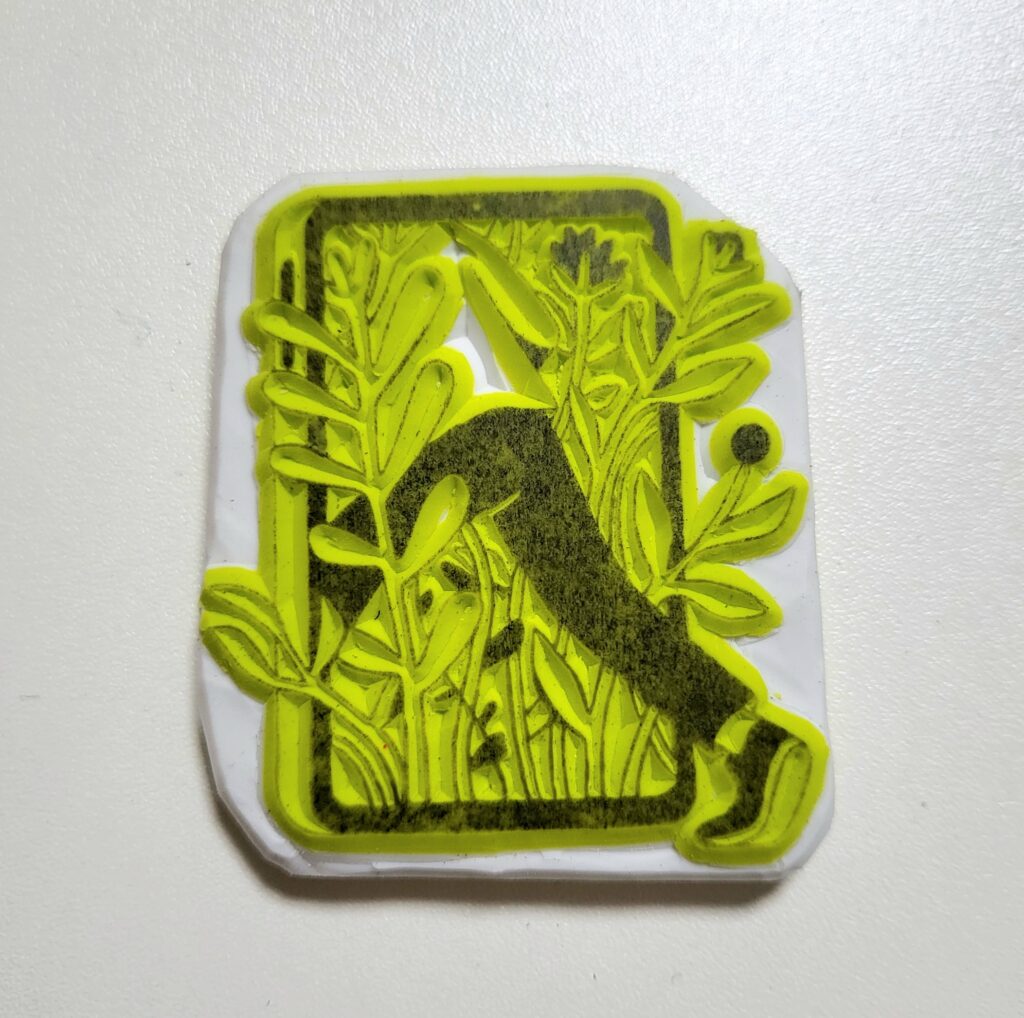
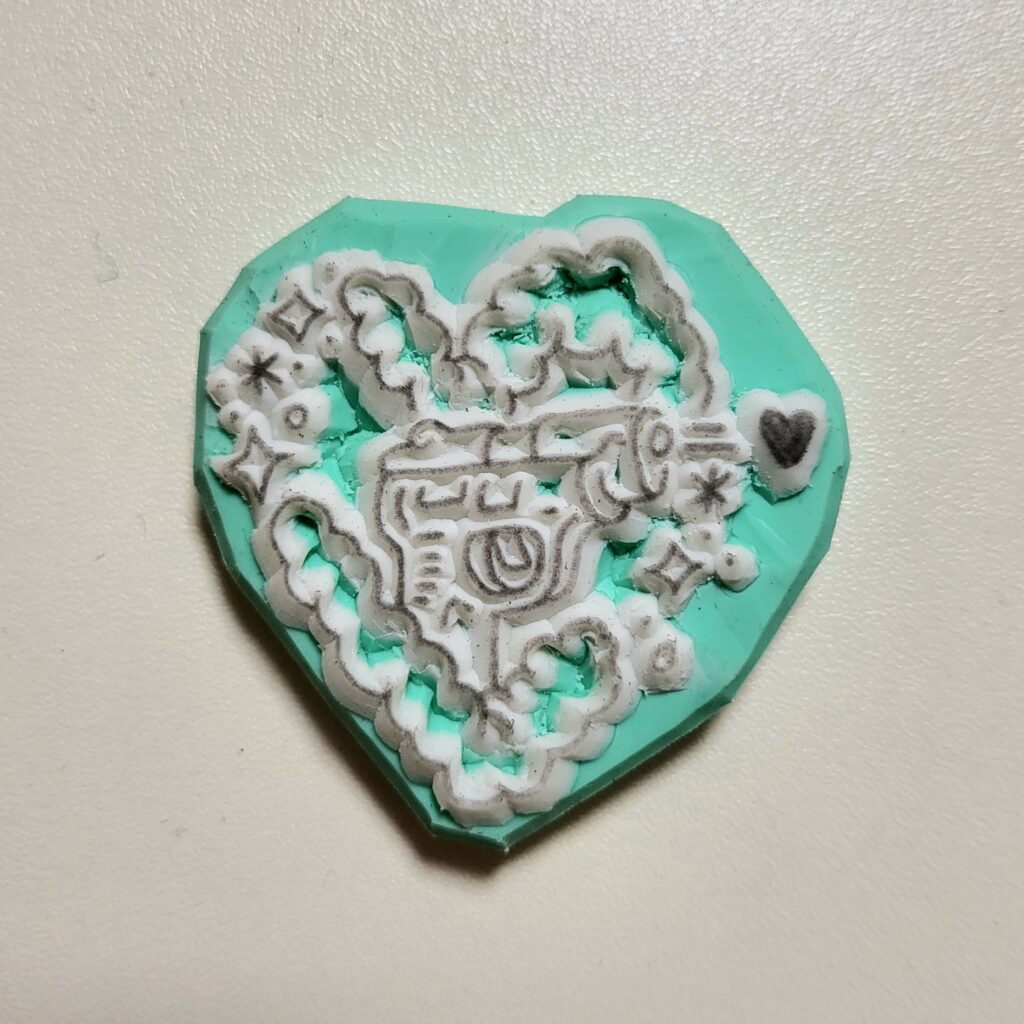
- Nature Motifs: Leaves, flowers, and simple animal silhouettes like birds or fish are both visually appealing and easy to carve.
- Letters and Numbers: Monograms or short words can be both practical and straightforward to carve.
Transferring Your Design to the Eraser
Once you have your design ready, you need to transfer it to the eraser. Here are a few methods:
- Direct Drawing:
Use a soft pencil (B or 2B) to draw your design directly onto the eraser. This method is straightforward but requires a steady hand.
- Tracing Paper Method:
Draw your design on tracing paper. Turn the tracing paper over and rub the back of the design with a soft pencil. Place the tracing paper, pencil side down, on the eraser and rub the top with a bone folder or the back of a spoon to transfer the design.
When drawing your design on tracing paper, don’t forget to draw it mirrored or reversed! This step is crucial because when you transfer the design onto the stamp material, the final print will appear in the opposite direction of your original drawing. By creating a mirrored image, you ensure that the design prints correctly oriented.
- Laser Printer Method:
Use a laser printer to print your desired design. Remember to print the design mirrored (reversed) so that it will appear correctly when stamped.
Place the printed design face down onto the eraser surface. Ensure it is aligned properly and securely in place.
Carefully apply or pour the acetone to the back of the printed design. Be sure to cover the entire design area but avoid using too much acetone, as this can cause the ink to blur.
Gently rub the back of the paper with a bone folder, the back of a spoon, or another smooth tool. This pressure helps to transfer the ink from the paper onto the eraser.
Carefully lift the paper to reveal your transferred design on the eraser. Allow the eraser to dry completely before you start carving.
Using this method with a laser printer and acetone allows for the most precise and accurate transfer of your design, ensuring that even fine details are clearly depicted on the eraser.
By following these steps, you can effectively transfer your design onto the eraser, preparing it for the carving phase.
4. carving Phase
Using the Carving Knife and Safety Precautions
- Holding the Knife: Hold the carving knife like a pencil, ensuring you have a firm grip. Your index finger should be close to the blade for better control.
- Cutting Direction: Always carve away from your body and fingers to avoid injuries. Rotate the eraser instead of the knife to change cutting angles.
- Workspace: Work on a stable, flat surface and make sure your area is well-lit.
- Safety Gear: Consider wearing a carving glove on the hand holding the eraser to protect your fingers from accidental slips.
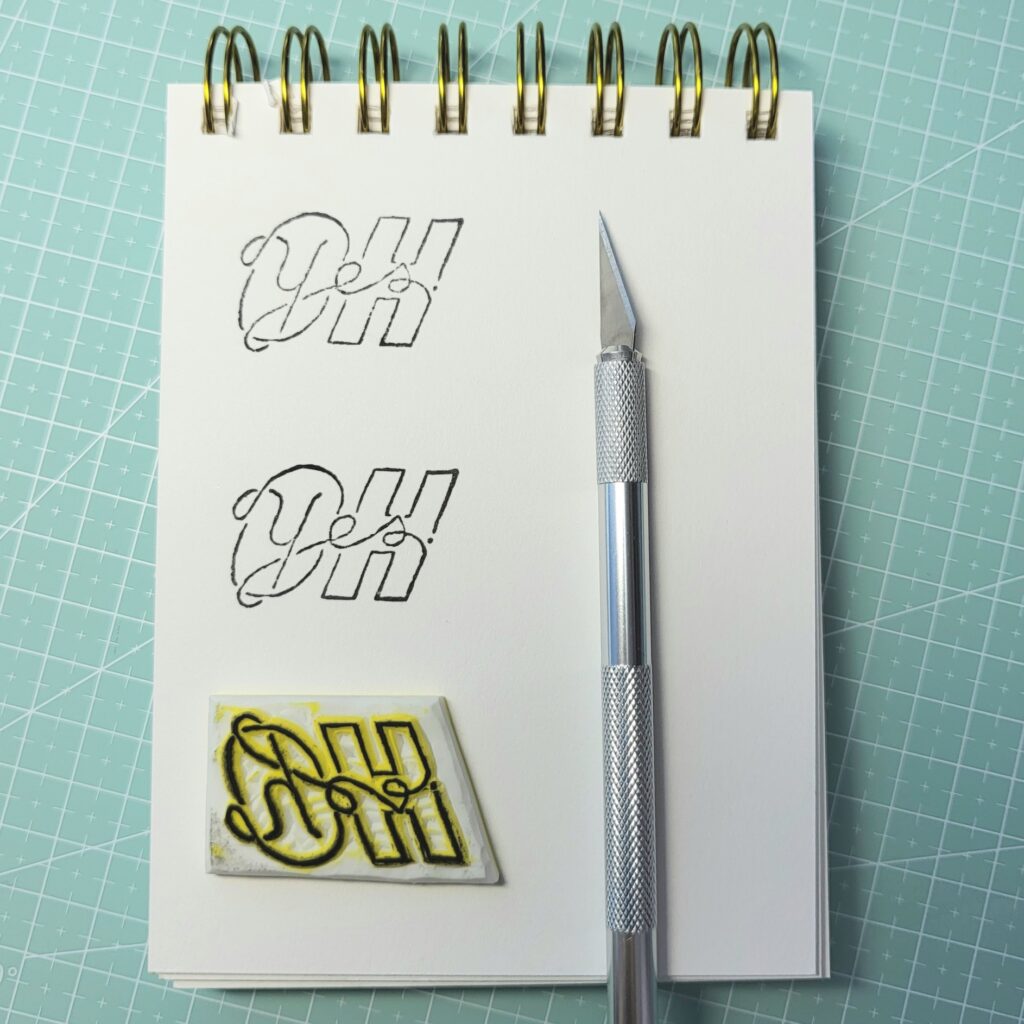
Carving the Outline of Your Design
- Initial Cuts: Start by carving the outline of your design. Use shallow cuts to trace the primary lines of your design. This step helps to define the boundaries and gives you a guide for further carving.
- Depth Control: Keep the cuts shallow and consistent. Deep cuts can make the carving process more difficult and increase the risk of breaking the eraser.
Carving the Details
- Fine Lines: Switch to a finer blade for detailed areas if needed. Carefully carve within the outlined sections, removing small amounts of material at a time.
- Clean Cuts: Regularly clean the blade to ensure it remains sharp and free from debris. A sharp blade makes cleaner cuts and reduces the risk of slips.
Carving Tips for Beginners
- Start Simple: Begin with simple designs to get a feel for the carving process. Basic shapes and patterns are great for practice.
- Take Breaks: Carving can be detailed and time-consuming. Take regular breaks to rest your hands and avoid fatigue.
- Patience is Key: Don’t rush the process. Careful, deliberate cuts produce better results than hurried work.
- Practice on Scraps: Use leftover pieces of eraser to practice your technique before moving on to your main design.
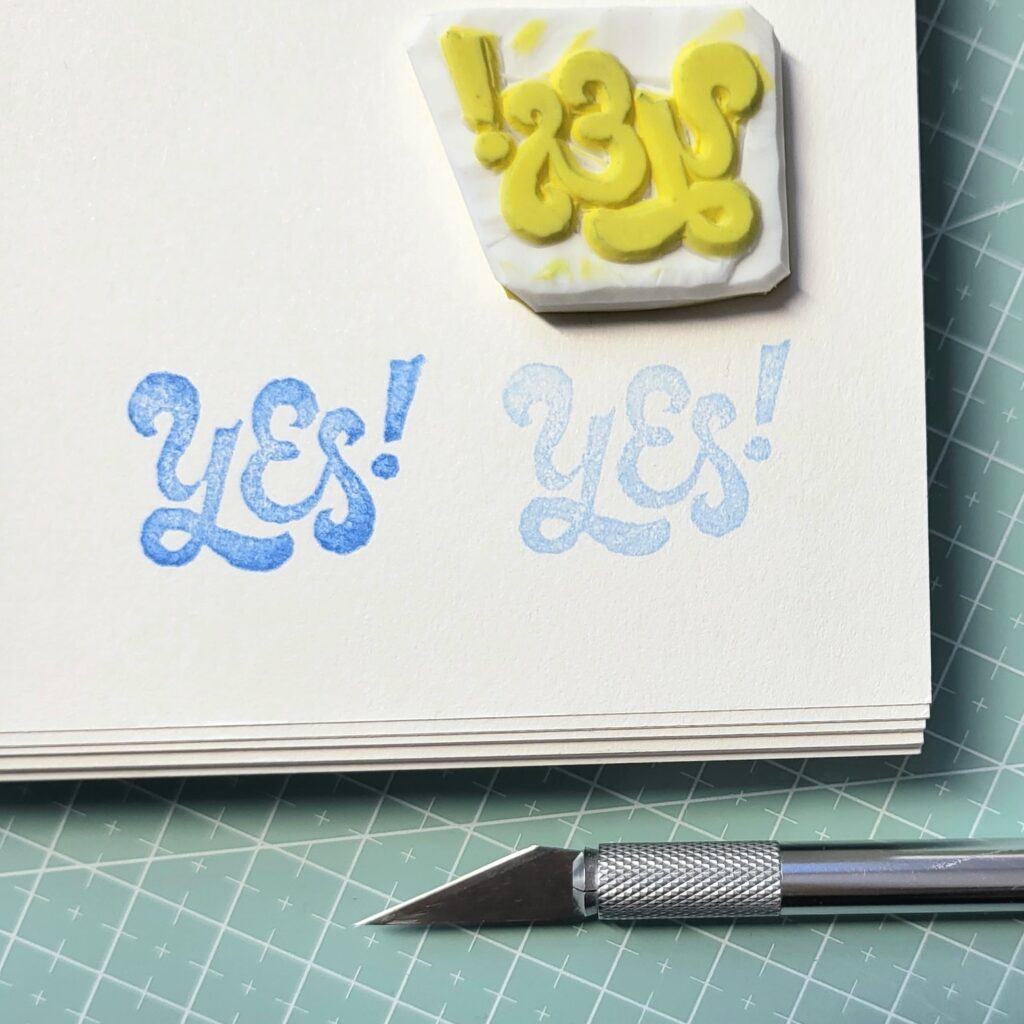
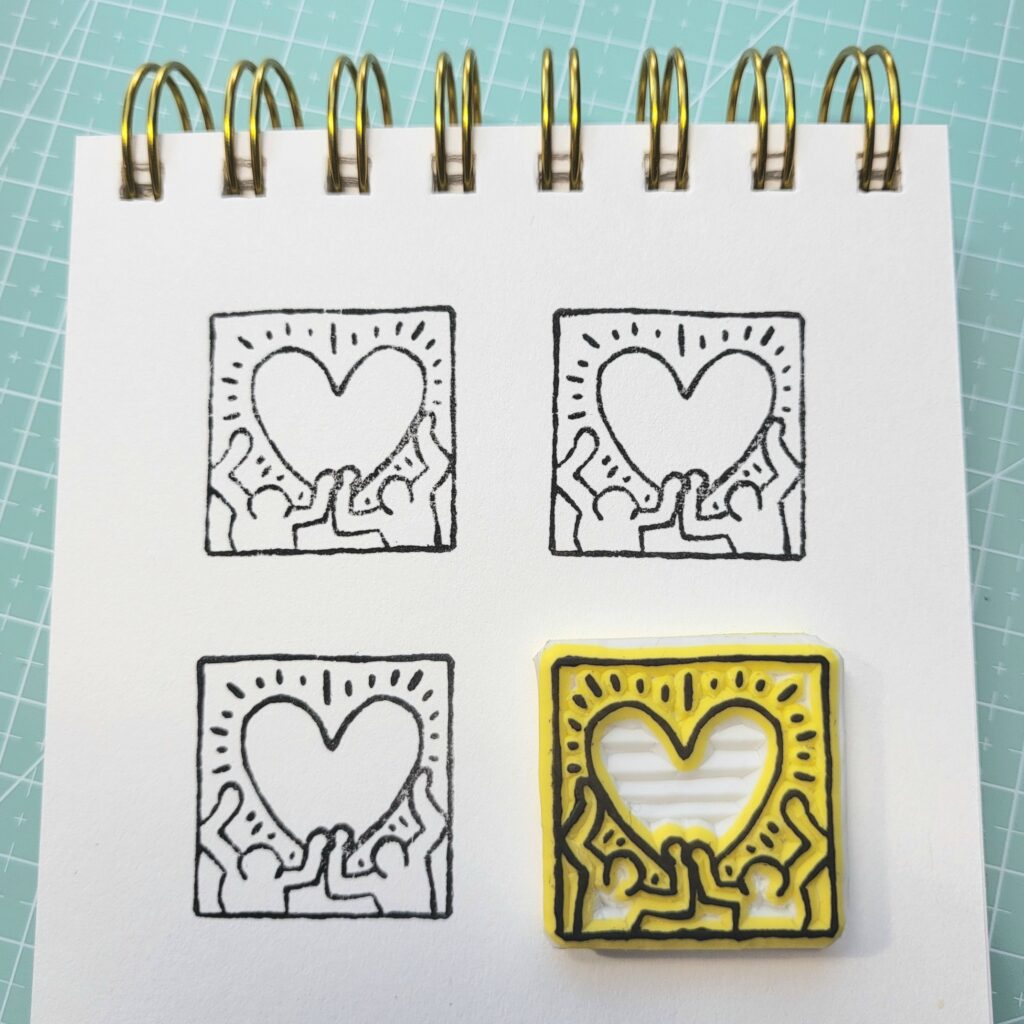
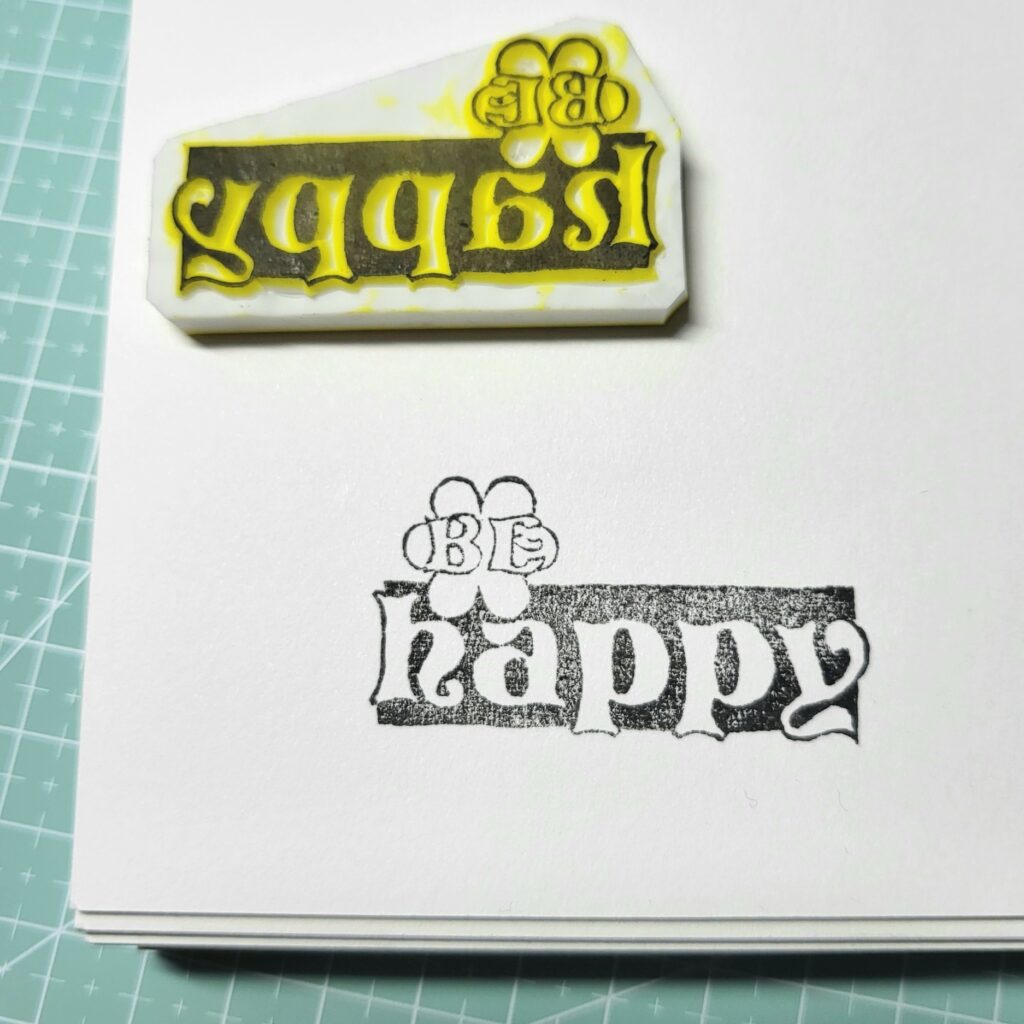
- Test Prints: After carving, do a test print to see how your stamp looks. This helps you identify areas that may need further refining or additional detail.
By following these steps and tips, you can effectively and safely carve your design, ensuring a high-quality and detailed stamp.
5. Finishing the Stamp
Post-Carving Finishing Touches
After you have completed the carving of your design, there are a few final steps to ensure your stamp is ready for use.
- Smoothing the Surface: If any rough spots or small burrs of rubber remain on the carved areas, gently smooth them out with a carving tool. Be careful not to alter the design details.
- Cleaning the Stamp: Use a soft brush or a cloth to remove any eraser dust or debris from the carving process. A clean stamp will produce a clearer print.
Trimming the Edges of the Stamp
- Examining the Edges: Hold your stamp up to the light to check for any irregularities or protrusions along the edges that might catch ink or interfere with a clean print.
- Trimming Process: Using a sharp craft knife or your carving tool, carefully trim away any excess material from the edges of the stamp. Keep the cuts straight and smooth to avoid accidental damage to your design.
- Final Inspection: After trimming, inspect the stamp again to ensure the edges are clean and smooth. You may need to do some minor touch-ups to achieve the desired finish.
shumispace
6. Using your Stamp
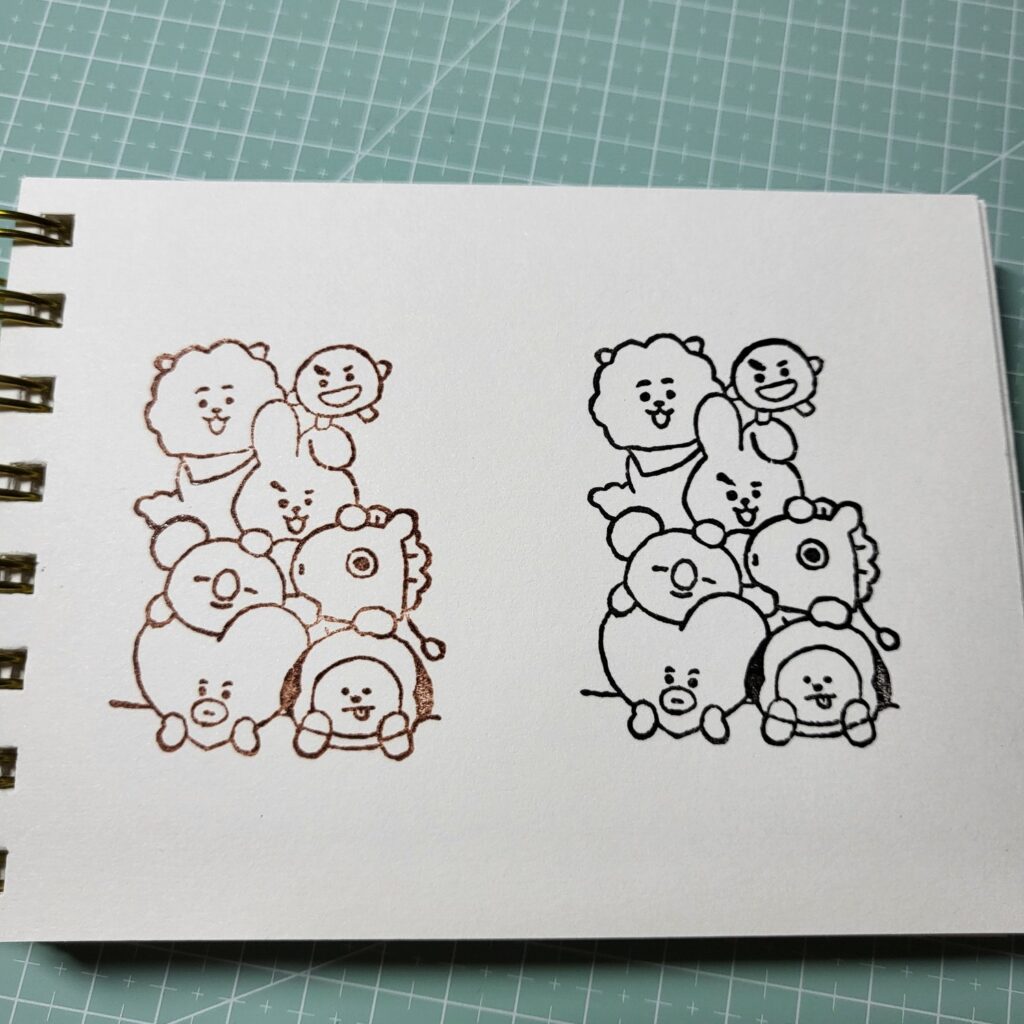
How to Ink Your Stamp Properly
Inking your stamp correctly is crucial for achieving a clear and consistent print. Here are the steps to follow:
- Select an Ink Pad: Choose an ink pad that suits your project. There are various types of ink pads available, including dye-based, pigment-based, and archival inks. Each type has different properties, so pick one that works best for the surface you will be stamping on.
- Press the Stamp into the Ink: Hold your stamp by the edges and gently press it into the ink pad. Ensure that the entire carved surface of the stamp comes into contact with the ink. Do not press too hard, as this can cause excess ink to accumulate and result in a smudged print.
- Check for Even Coverage: Lift the stamp and check to make sure the ink is evenly distributed across the design. If there are any spots that missed the ink, gently press those areas back into the ink pad.
Keeping Your Stamp Clean
Keeping your stamp clean is important for maintaining crisp prints and prolonging the life of your stamp. Here’s how to clean it:
- Immediate Cleaning: After each use, clean your stamp promptly. This prevents ink from drying on the stamp and affecting future prints.
- Using a Cleaning Solution: Use a stamp cleaning solution or mild soap and water to clean the stamp. Apply the cleaner to a soft cloth or paper towel and gently wipe the surface of the stamp. Avoid using harsh chemicals that can damage the eraser.
- Drying the Stamp: After cleaning, pat the stamp dry with a clean cloth or paper towel. Ensure it is completely dry before storing it away to prevent mold or mildew.
Stamping on Various Materials
Eraser stamps can be used on a variety of materials, each requiring slightly different techniques:
- Paper
This is the most common material for stamping. Choose a variety of papers to experiment with, such as cardstock, scrapbook paper, or watercolor paper. Ensure the paper is clean and dry before stamping.
Place the paper on a hard, flat surface. Firmly press the inked stamp onto the paper, applying even pressure across the entire design. Lift the stamp straight up to avoid smudging.
- Fabric
Use fabric ink pads specifically designed for textiles. Pre-wash and iron the fabric to remove any sizing or wrinkles. This helps the ink adhere better. Place the fabric on a hard, flat surface and place a piece of cardboard underneath to prevent ink from bleeding through.
Press the stamp firmly onto the fabric, applying even pressure. Lift straight up. Allow the ink to dry completely, and follow the ink manufacturer’s instructions for heat-setting the design, if necessary.
- Other Materials
For surfaces like wood, plastic, or metal, use inks that are designed for non-porous surfaces. Test the ink on a small area first to ensure it adheres properly and dries correctly.
Wood: Lightly sand the surface where you plan to stamp. Use a pigment ink pad or paint designed for wood. Press the stamp firmly and allow ample drying time.
Clay: Press the stamp into the clay before it dries or hardens. Clean the stamp immediately afterward to remove any residue.
Glass and Metal: Use specialized inks like StazOn, which are designed for non-porous surfaces. Ensure the surface is clean and dry, then press the inked stamp firmly. Allow the ink to dry completely, which may take longer on non-porous surfaces.
7. Applications and projects
Decorating Cards and Letters
Eraser stamps are perfect for adding a personal touch to cards and letters. You can create custom designs that reflect your personality or the theme of the occasion. Stamp your design on the front of a card, on the envelope, or even on the inside as a decorative element. Using different colored inks can add variety and make your creations stand out.
Creating Gift Wraps and Tags
Personalized gift wrapping and tags can make your gifts even more special. Use your eraser stamps to decorate plain wrapping paper, creating unique patterns or themed designs. You can also stamp gift tags with custom designs that match the wrapping paper. This adds a thoughtful and creative touch to any gift.
Embellishing Journals and Planners
Eraser stamps are great for embellishing journals and planners. You can create custom stamps to mark important dates, highlight special events, or simply add decorative elements to your pages. Stamping in your journal or planner can make planning and journaling more enjoyable and visually appealing.
Other Craft Projects
The possibilities for using eraser stamps in craft projects are endless. They can be used on scrapbook pages, DIY home decor items, handmade stationery, and more. Let your creativity guide you in finding new and exciting ways to incorporate your eraser stamps into various crafts.
8. Storage and Maintenance
Storing Your Stamps for Longevity
Proper storage is essential to keep your eraser stamps in good condition for a long time. Store your stamps in a cool, dry place away from direct sunlight, which can cause the eraser to harden and crack. You can keep them in a sealed container or a drawer to protect them from dust and dirt. If you have multiple stamps, consider labeling or organizing them by theme or use for easy access.
Cleaning Your Stamp After Use
Cleaning your stamps after each use is crucial for maintaining their quality and ensuring crisp prints in the future.
9. Frequently Asked Questions (FAQ)
Ink Smudging
Ink smudging is a common problem when stamping, but it can be avoided with proper technique.
Causes: Applying too much ink, pressing too hard, or using an uneven surface can cause smudging.
Solution:
- Applying Ink: Lightly tap the stamp on the ink pad rather than pressing it down hard. This helps to evenly distribute the ink without overloading the stamp.
- Even Surface: Make sure the surface you’re stamping on is flat and smooth. An uneven surface can cause parts of the stamp to press harder than others, leading to smudging.
- Pressing the Stamp: When you stamp, apply gentle, even pressure and lift the stamp straight up without rocking it side-to-side.
Uneven Impressions
Getting an uneven impression can be frustrating, but there are ways to ensure a more consistent result.
Causes: Uneven pressure, an improperly carved stamp, or an uneven ink application can cause this issue.
Solution:
- Pressure Application: Apply even pressure across the entire stamp when stamping. You can place a soft, flexible mat (like a mouse pad) under your paper to help distribute pressure evenly.
- Stamp Inspection: Before inking, check that the carved surface of the stamp is even. You can test the stamp on scrap paper and make adjustments as needed.
- Ink Application: Ensure the ink is evenly applied to the stamp. If certain areas are missing ink, reapply gently in those spots.
Broken or Chipped Stamps
Stamps can break or chip if not handled properly.
Causes: Using too much force when carving, using poor quality erasers, or improper storage can lead to damage.
Solution:
- Carving Tools: Use sharp, high-quality carving tools to minimize the force needed when carving. Dull tools require more pressure and can cause the eraser to break.
- Quality Erasers: Start with high-quality erasers that are designed for carving. They are usually softer and less likely to chip.
- Proper Storage: Store your stamps in a cool, dry place and keep them in a protective case or container to prevent damage. Avoid placing heavy objects on top of your stamps.
Designs Not Transferring Well
Sometimes the design might not transfer well from the stamp to the surface.
Causes: Incorrect inking, inappropriate surface, or improper stamping technique.
Solution:
- Inking: Ensure that the entire surface of the stamp is covered with a thin, even layer of ink. Avoid over-inking, which can blur the design.
- Surface Selection: Use appropriate surfaces for stamping. Smooth, flat surfaces like paper, cardstock, or fabric work best.
- Stamping Technique: Press the stamp firmly but gently onto the surface, ensuring contact is made with the entire design. Lift the stamp straight up to avoid smearing.
By understanding these common issues and implementing the solutions, you can improve the quality of your stamped images and enjoy a smoother crafting experience.
shumispace
10. Conclusion
The Joy of Making Eraser Stamps
Creating eraser stamps is a delightful and rewarding hobby. It allows you to express your creativity and personalize your crafts with unique designs. The process is not only enjoyable but also therapeutic, offering a wonderful way to relax and unwind.
Don’t be afraid to experiment and make mistakes. Each stamp you create is a learning experience, and your skills will improve with practice. Remember, the most important part of crafting is to have fun and enjoy the process. Embrace your creativity and let your imagination guide you. Happy stamping!